Introduction
Floor grout plays a crucial role in tile installations, but it often faces numerous challenges that can diminish its appearance and functionality. This post explores common grout issues and provides practical solutions to restore your floors to their former glory.
1. Understanding Floor Grout
1.1. What is grout and its purpose
Grout is a cement-based material used to fill gaps between tiles. It serves multiple purposes:
- Stabilizes tile installations
- Prevents water infiltration
- Enhances the overall aesthetic of tiled surfaces
1.2. Types of grout materials
Different grout materials suit various applications:
- Cement-based grout: Standard option for most installations
- Epoxy grout: Highly durable and stain-resistant
- Furan grout: Chemical-resistant for industrial settings
1.3. Factors affecting grout durability
Several factors influence how long grout maintains its integrity:
- Quality of installation
- Exposure to moisture
- Frequency of cleaning
- Type of traffic in the area
2. Discoloration and Staining
2.1. Causes of grout discoloration
Grout discoloration can occur due to:
- Accumulation of dirt and grime
- Chemical reactions with cleaning products
- Exposure to sunlight
- Hard water deposits
2.2. Types of stains and their sources
Common stains include:
- Organic stains from food and beverages
- Mold and mildew stains in damp areas
- Rust stains from metal objects
- Oil-based stains from cosmetics or cooking
2.3. Cleaning and restoring discolored grout
To address discoloration:
- Use a pH-neutral cleaner for regular maintenance
- Apply a poultice for stubborn stains
- Consider professional steam cleaning for deep-set discoloration
3. Cracking and Crumbling Grout
3.1. Reasons for grout cracks and crumbling
Grout may crack or crumble due to:
- Structural movement in the building
- Improper mixing or application during installation
- Excessive water exposure
- Age and wear
3.2. Assessing the extent of damage
Evaluate the damage by:
- Checking for loose tiles
- Examining the depth and width of cracks
- Assessing whether the issue is localized or widespread
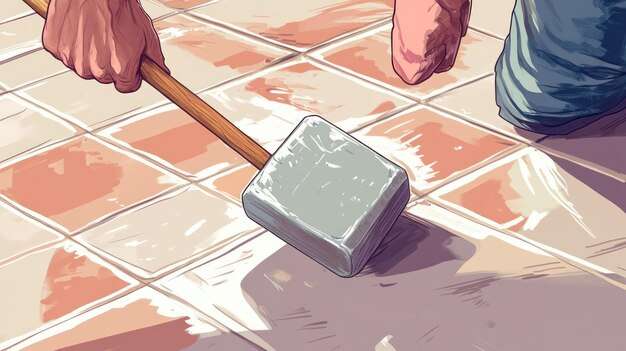
3.3. Repair techniques for cracked grout
To repair cracked grout:
- Remove damaged grout with a grout saw
- Clean the area thoroughly
- Apply new grout, matching the original color
- Allow proper curing time before sealing
4. Mold and Mildew Growth
4.1. Conditions that promote mold growth in grout
Mold thrives in environments with:
- High humidity
- Poor ventilation
- Constant moisture exposure
- Organic matter for food
4.2. Health risks associated with mold in grout
Mold can cause:
- Respiratory issues
- Allergic reactions
- Skin irritation
- Aggravation of existing health conditions
4.3. Effective mold removal and prevention strategies
To combat mold:
- Use a mixture of water and white vinegar for cleaning
- Improve ventilation in problem areas
- Apply a mold-resistant sealer to grout lines
- Regularly dry wet areas after use
5. Grout Erosion and Wear
5.1. Factors contributing to grout erosion
Grout erosion can be caused by:
- Harsh cleaning chemicals
- High foot traffic
- Improper sealing
- Constant exposure to water
5.2. Signs of worn-out grout
Look for these indicators:
- Receding grout lines
- Powdery residue on tile surfaces
- Loose or hollow-sounding tiles
- Visible gaps between tiles
5.3. Methods to restore and protect eroded grout
To address erosion:
- Remove loose grout particles
- Apply a grout renewer product
- Consider regrouting severely eroded areas
- Seal the grout to prevent future erosion
6. Sealing Issues
6.1. Importance of proper grout sealing
Sealing grout:
- Prevents staining and discoloration
- Reduces water absorption
- Extends the life of the grout
- Makes cleaning easier
6.2. Common sealing mistakes
Avoid these errors:
- Sealing too soon after installation
- Using the wrong type of sealer
- Applying sealer unevenly
- Neglecting to reapply sealer periodically
6.3. Resealing techniques and best practices
For effective resealing:
- Clean and dry the grout thoroughly
- Apply sealer with a small brush or applicator
- Allow proper drying time between coats
- Test sealer effectiveness with water droplets
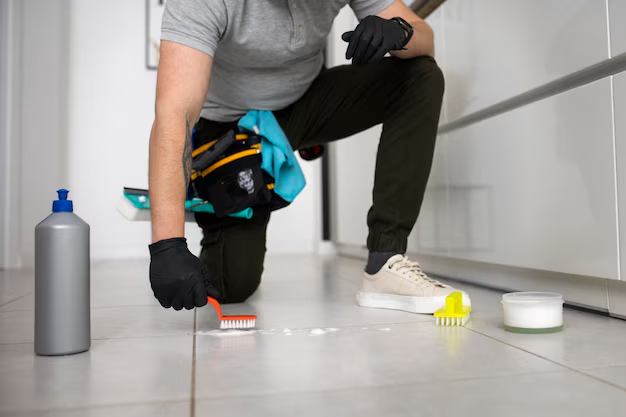
7. DIY Grout Repair and Maintenance
7.1. Essential tools for grout repair
Gather these tools:
- Grout saw or removal tool
- Grout float
- Sponge and bucket
- Protective gloves and eyewear
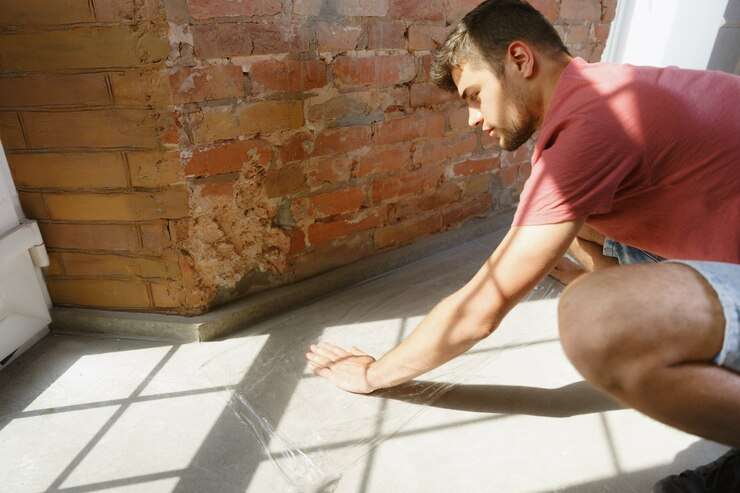
7.2. Step-by-step guide to basic grout repair
Follow these steps:
- Remove damaged grout
- Clean the area
- Mix new grout according to instructions
- Apply grout with a float
- Clean excess grout from tile surfaces
- Allow proper curing time
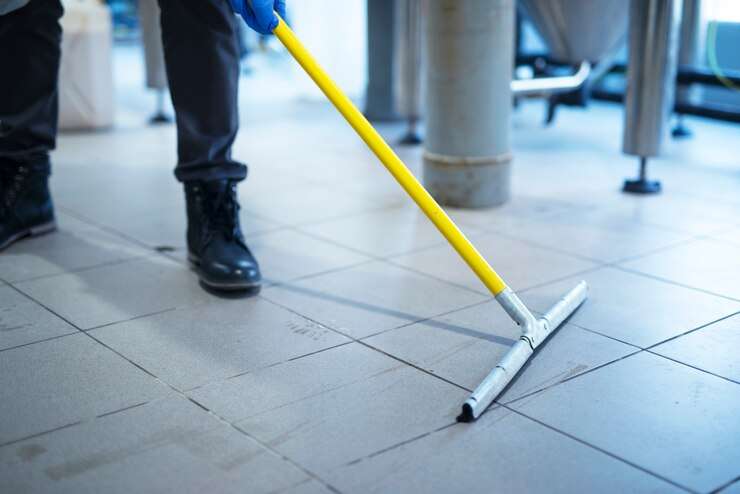
7.3. Regular maintenance tips for healthy grout
Maintain your grout by:
- Wiping spills immediately
- Using a pH-neutral cleaner regularly
- Avoiding abrasive cleaning tools
- Resealing grout annually or as needed
Summary
Addressing common grout issues requires understanding the root causes and implementing appropriate solutions. With regular maintenance and timely repairs, you can keep your floor grout in excellent condition, ensuring both the beauty and longevity of your tiled surfaces.