Introduction
Creating a gallery wall is an art form that can transform any space into a personalized showcase of your style and memories. This guide will walk you through the process of planning, arranging, and executing a stunning gallery wall that will become the focal point of your room.
1. Planning Your Gallery Wall
1.1. Choosing a theme or concept
Selecting a theme for your gallery wall is the first step in creating a cohesive look. Consider themes like family photos, travel memories, or a specific color palette. A well-chosen theme will tie your gallery wall together and make a strong visual impact.
1.2. Measuring your wall space
Accurate measurements are crucial for a well-balanced gallery wall. Use a tape measure to determine the available space, taking into account any furniture or architectural features that might affect your layout.
1.3. Selecting frames and artwork
Choose frames that complement your theme and existing decor. Mix and match frame styles for added interest, but maintain some consistency in color or material to create a unified look. Select artwork that speaks to you and fits your chosen theme.
2. Arranging Your Frames
2.1. Creating a layout on the floor
Before hanging anything, arrange your frames on the floor. This allows you to experiment with different layouts without making holes in your wall. Step back and view the arrangement from different angles to ensure it’s visually pleasing.
2.2. Using paper templates
Create paper templates of your frames by tracing them onto kraft paper or newspaper. Use painter’s tape to attach these templates to your wall, allowing you to visualize the final layout and make adjustments before committing.
2.3. Experimenting with different patterns
Try various arrangement styles, such as grid patterns, asymmetrical layouts, or a central focal point with surrounding smaller frames. Each pattern creates a different visual effect, so choose one that best suits your space and style.
3. Essential Tools and Materials
3.1. Picture hanging hardware
Invest in quality picture hanging hardware appropriate for your frame weights. Options include picture hooks, wire, D-rings, and sawtooth hangers. Always choose hardware rated for the weight of your frames to ensure safety.
3.2. Measuring and marking tools
Essential tools include a tape measure, level, pencil, and ruler. These will help you achieve precise measurements and straight lines for a professional-looking result.
3.3. Wall protection accessories
Use felt pads or rubber bumpers on the back corners of your frames to protect your walls from scratches and keep frames level. These small additions can make a big difference in the longevity of your gallery wall.
4. Hanging Techniques for Different Wall Types
4.1. Drywall hanging methods
For drywall, use appropriate anchors to support your frames. Plastic anchors work well for lighter frames, while toggle bolts are better for heavier items. Always locate studs when possible for the most secure hanging.
4.2. Brick and concrete wall solutions
Hanging frames on brick or concrete requires special tools and techniques. Use a masonry drill bit to create pilot holes, then insert plastic anchors or lead wall plugs before screwing in your hanging hardware.
4.3. Working with plaster walls
Plaster walls can be delicate, so use caution when hanging frames. Pre-drill holes and use plaster anchors designed for this type of wall. Avoid hammering directly into plaster, as it can cause cracks.
5. Achieving Perfect Alignment
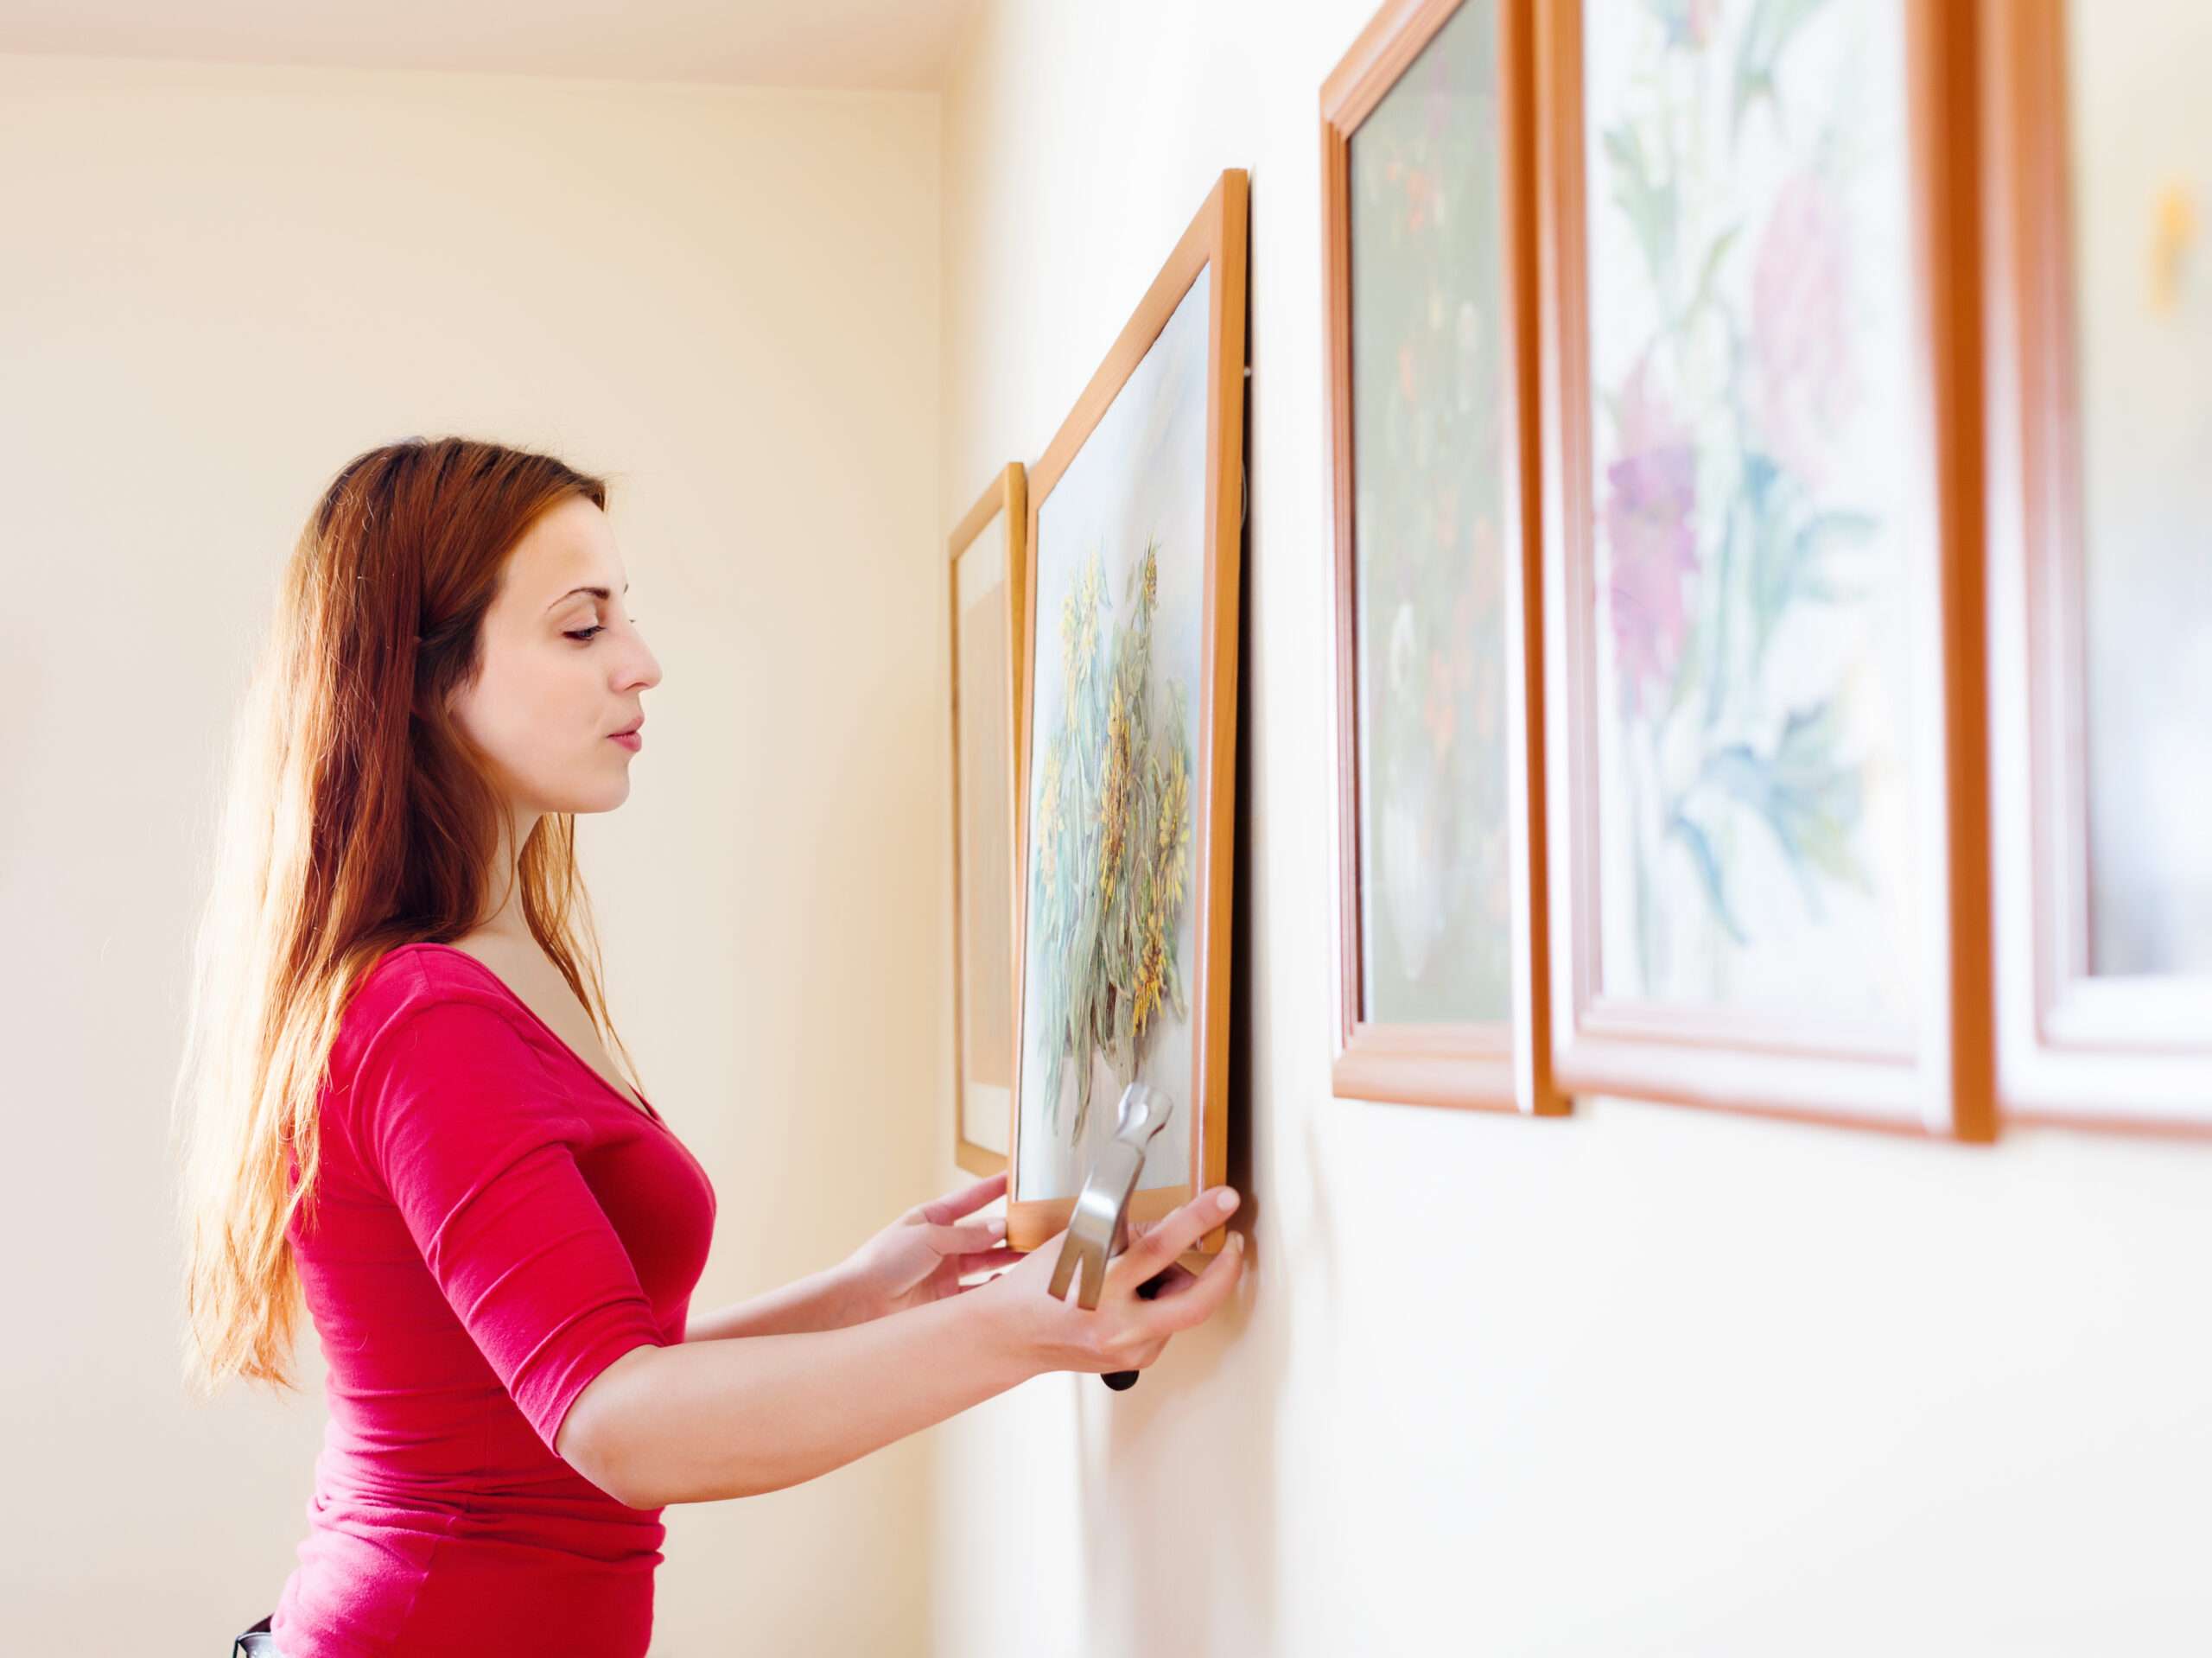
5.1. Using a level for straight lines
A level is your best friend when hanging frames. Use it to ensure each frame is straight and to create level lines across multiple frames. Digital levels can be particularly helpful for larger gallery walls.
5.2. Creating evenly spaced layouts
Maintain consistent spacing between frames for a polished look. Use a ruler or create a spacing template to ensure uniformity. Generally, 2-3 inches between frames works well for most gallery walls.
5.3. Adjusting frames after hanging
Once your frames are on the wall, step back and assess the overall look. Make small adjustments as needed, using a level to fine-tune the placement of each frame.
6. Incorporating Different Frame Sizes and Shapes
6.1. Mixing large and small frames
Combine frames of various sizes to create visual interest. Use larger frames as anchor points and fill in with smaller frames. This variety adds depth and dimension to your gallery wall.
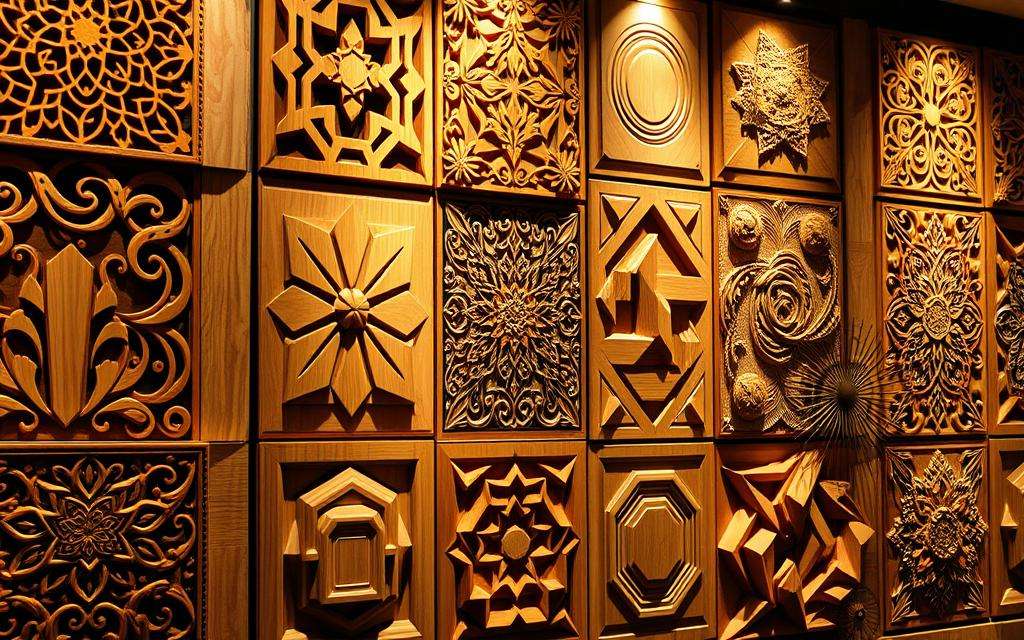
6.2. Integrating non-rectangular frames
Incorporate circular, oval, or uniquely shaped frames to break up the monotony of rectangular shapes. These unexpected elements can become eye-catching focal points within your gallery wall.
6.3. Balancing frame weights and colors
Distribute frame weights and colors evenly across your gallery wall. This balance creates a harmonious look and prevents one area from feeling heavier or more dominant than others.
7. Adding Depth and Dimension
7.1. Layering frames and objects
Create depth by layering smaller frames in front of larger ones. Incorporate three-dimensional objects like small shelves, wall sculptures, or decorative items to add texture and interest.
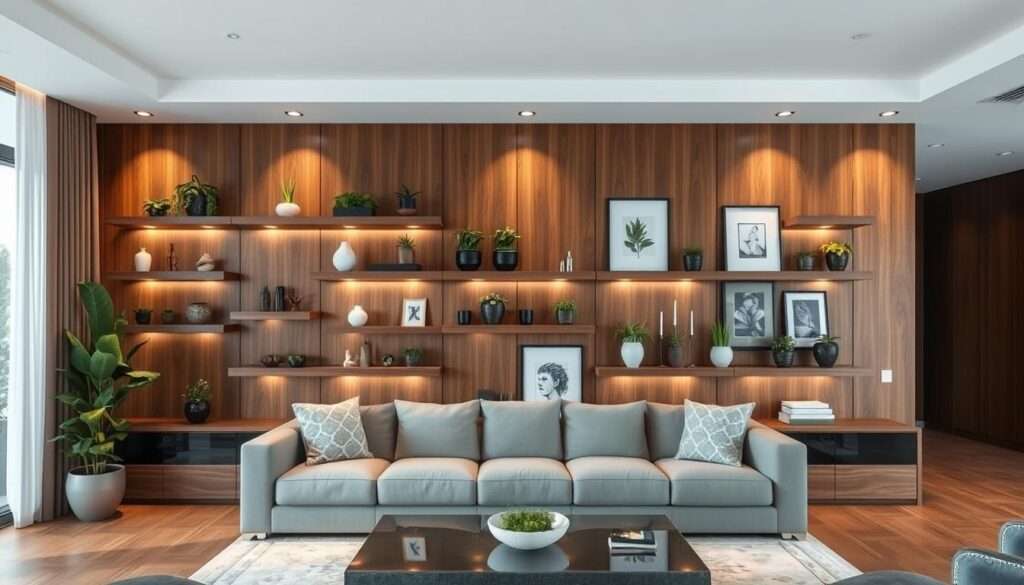
7.2. Incorporating shelves and ledges
Picture ledges offer flexibility, allowing you to easily swap out frames and objects. They also provide a place for smaller items that might not work well hanging directly on the wall.
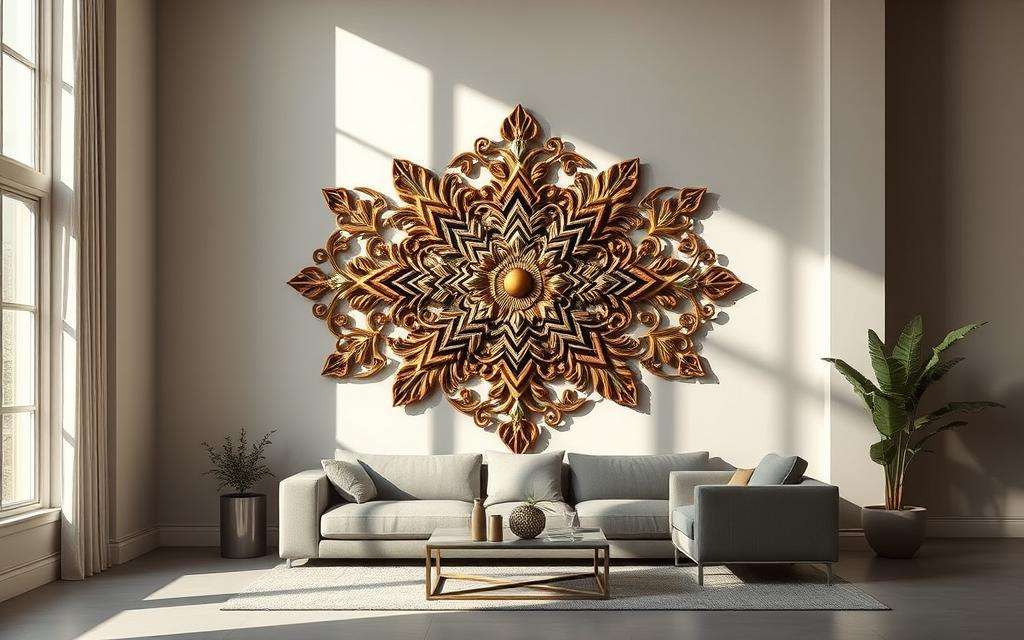
7.3. Using 3D elements and textures
Integrate textured elements like woven wall hangings, metal art pieces, or shadow boxes to add visual and tactile interest to your gallery wall.
8. Lighting Your Gallery Wall
8.1. Choosing the right lighting fixtures
Select lighting that enhances your gallery wall. Picture lights, track lighting, or adjustable wall sconces can highlight specific pieces and create ambiance.
8.2. Positioning lights for optimal effect
Position lights to minimize glare on glass frames. Experiment with different angles to find the most flattering illumination for your artwork.
8.3. Balancing natural and artificial light
Consider how natural light interacts with your gallery wall throughout the day. Use artificial lighting to complement natural light and ensure your gallery wall looks great at all hours.
9. Maintaining and Updating Your Gallery Wall
9.1. Cleaning and dusting techniques
Regularly dust your frames and artwork with a microfiber cloth or soft brush. For glass-fronted frames, use a streak-free glass cleaner applied to the cloth, not directly on the glass.
9.2. Rotating artwork seasonally
Keep your gallery wall fresh by rotating artwork seasonally or periodically. This allows you to showcase different pieces and keeps your space feeling dynamic.
9.3. Expanding your gallery over time
As you acquire new pieces, integrate them into your existing gallery wall. Don’t be afraid to rearrange or expand your layout to accommodate new additions.
10. Troubleshooting Common Issues
10.1. Fixing crooked frames
Use adjustable hanging hardware or small adhesive pads to level crooked frames without rehanging them.
10.2. Repairing wall damage
Keep spackle and touch-up paint on hand for quick repairs of small wall damages. For larger holes, use a drywall patch kit before repainting.
10.3. Addressing uneven surfaces
On uneven walls, use small pieces of felt or foam behind frames to create a level surface and prevent wobbling.
Conclusion
Creating a stunning gallery wall is a rewarding project that personalizes your space and showcases your style. With these foolproof ideas and techniques, you’re well-equipped to transform your walls into a beautiful, curated display.
Detailed FAQs
1. Can I mix different frame colors in one gallery wall?
Absolutely! Mixing frame colors can add depth and interest to your gallery wall. It’s all about finding the right balance. Here are a few ideas to get you started:
- Stick to a color family: Choose frames in different shades of the same color, like various wood tones or metallic finishes.
- Go for contrast: Mix black and white frames for a classic, timeless look.
- Add a pop of color: Use mostly neutral frames with one or two colorful ones as accents.
Remember, the goal is to create a cohesive look that reflects your personal style. If you love how it looks, that’s what matters most!
2. How do I create a cohesive look with diverse artwork?
Creating a cohesive gallery wall with diverse artwork is like putting together a puzzle – it’s all about finding the right pieces that fit together. Here are some tips to help you achieve that perfect balance:
- Choose a common theme: This could be a color palette, subject matter, or artistic style.
- Use consistent framing: Even if your art pieces are different, using similar frames can tie everything together.
- Play with layout: Arrange your pieces in a way that creates visual flow and balance.
- Mix mediums: Don’t be afraid to combine paintings, photographs, and even 3D objects.
The key is to trust your instincts. If something feels off, try rearranging until it clicks. Remember, your gallery wall should tell your story and make you smile every time you look at it!
3. What’s the best way to hang a gallery wall on a rented property?
Renters, I feel your pain! You want to make your space feel like home, but you also want that security deposit back. Here are some renter-friendly ways to hang your gallery wall:
- Command strips: These little wonders can hold a surprising amount of weight and won’t damage your walls.
- Adhesive hooks: Great for lighter pieces and easy to remove.
- Lean and layer: For a more casual look, try leaning your art on floating shelves.
- Washi tape frames: Create “frames” around unframed prints using colorful washi tape.
Always check with your landlord first to see what’s allowed. And remember, where there’s a will, there’s a way to make your rental feel like home!
4. How often should I update my gallery wall?
There’s no hard and fast rule about how often you should update your gallery wall. It really depends on your personal preference and lifestyle. Some people like to switch things up seasonally, while others prefer to let their gallery wall evolve slowly over time.
Here are a few reasons you might want to update your gallery wall:
- You’ve acquired new art pieces you love
- Your style or tastes have changed
- You’re redecorating or refreshing your space
- You want to mark a special occasion or milestone
Remember, your gallery wall is a reflection of you. It should grow and change as you do. So whether you update it monthly or yearly, make sure it always brings you joy when you look at it!
Gallery wall pro tip: Take a photo of your current arrangement before you change it. You never know when you might want to recreate that perfect layout!